In Beatflyer you can import manually the graphic layers of your composition independently of the tools used to generate them. Because Adobe Photoshop remains a very popular design tool for flyers, here you will find details about how to work best with its files regardless if you have it installed or not.
Organize your layers
1 layer in Photoshop shouldn't always translate to 1 layer in Beatflyer. Photoshop files can have hundreds of layers when in Beatflyer you only want a few. Each layer should basically contain all the visual elements to which will get applied the same effect. Seeing how templates are built perhaps can give you a better idea. In Photoshop you can easily achieve this using layer groups. Our exporter linked below (Option 1), in fact, only exports the top layers and groups.
Option 1 - I have Adobe Photoshop installed
Version 22.5 or newer
Install our plugin to export all layers and a settings.json file in one click. When Photoshop asks where to export, choose a folder (the button may say “Open”). Don’t select a file.
Then drag all exported files, including settings.json, from your computer into the Beatflyer window.
Older
If you have an older version, you can try our script which you can add manually to Photoshop. First download this archive and then open it. Now you can follow the instructions contained in the file README.txt.
Option 2 - I don't have Adobe Photoshop installed
If someone else designed the flyer for you but you prefer to animate it yourself, the easiest way is probably to ask the designer to export the separate layers following the instructions for Option 1 above. Rememeber to point them to this page so that they will get all the info needed.
If you prefer to export the layers yourself and you don't have Photoshop installed, you are in luck. Thanks to the amazing and free web app Photopea you can edit your Photoshop files in the browser (even from your mobile phone!).
Photopea works very similarly to Photoshop, so if you have used Photoshop before you will find a very familiar environment. But even if you haven't, the following instructions will guide you step by step. No need to get scared by its powerful user interface.
Group your elements
After having opened a .psd file in Photopea, on the right side of your browser window you will find the Layers section.
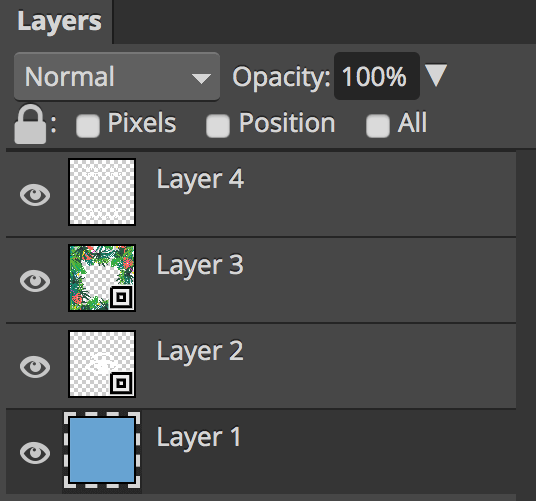
As mentioned at the top of the page, you don't necessary have to export 1 layer (as .png file) per layer in Photoshop. Group all your Photoshop layers meaningfully knowing that each layer in Beatflyer is animated independently. If you want to apply the same effects to multiple layers in Photoshop, group them. To group them, create a folder clicking the folder icon at the bottom of the Layers panel and then drag the layers you want to group inside.
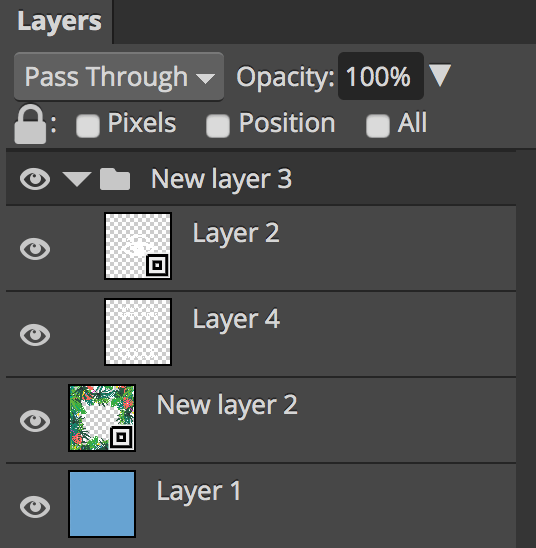
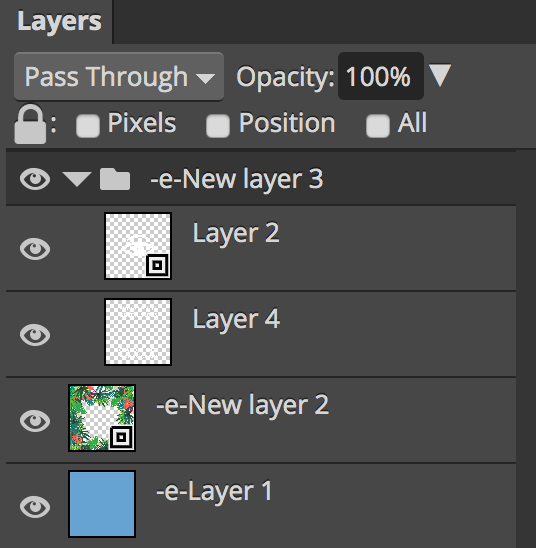
Photopea gives the option to export all your layers or to export only the ones which are marked through their name. Hence, if you have folders in your file, you should prefix the layers and folders to export with "-e-".
Export layers
Once your layers are ready, you can choose the Export Layers... option in the File menu.
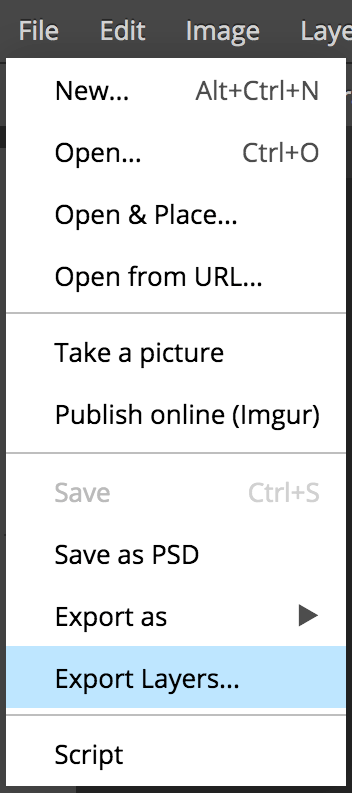
In the panel you can choose either to export only the layers which has the "-e-" prefix or all of them depending if you have folders. Then choose to remove the parts outside the canvas and not to trim transparent pixels.
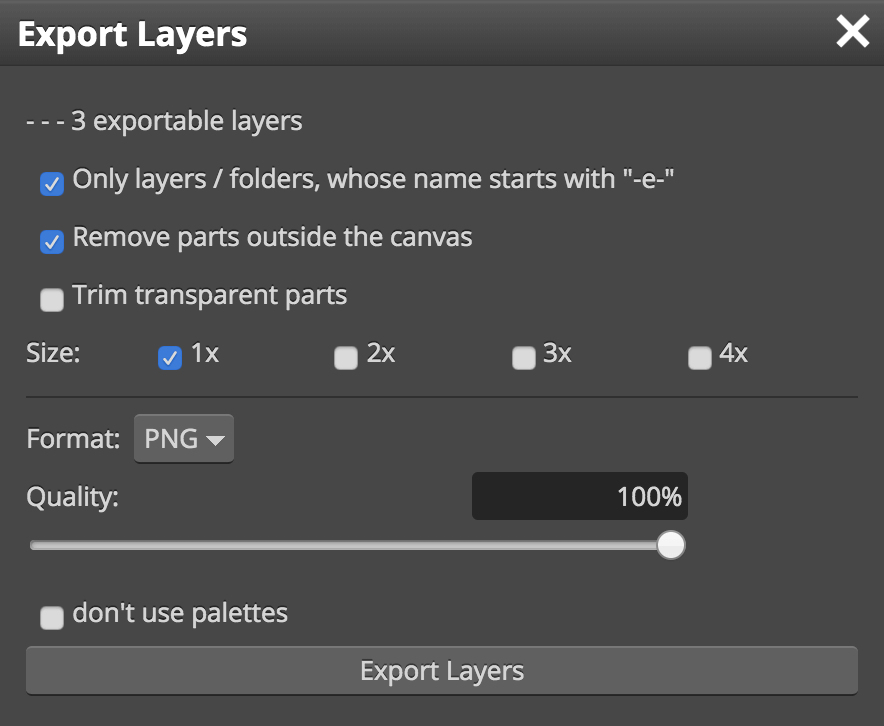
After clicking the Export Layers button you should start downloading a .zip file containing all your layers. If the layers were named alphabetically, dragging them all together into Beatflyer it should rebuild your composition accurately. If the layer names were not in order you might have to reposition the layers after importing them.